Cheap Vegan Chick
  • Home
  • Coupons & Tips
    • Find Vegan Coupons
    • Print Coupons (Redplum)
    • Online Coupon Search
    • Store Coupon Policies
    • How to Stack Coupons
    • Vegan Extreme Couponing 101
  • Find Deals
  • Make Money
  • Resources
  • About
    • About
    • FAQs
    • Disclaimer
  • Contact Me
  • Blog

18 Ways to Use Lemons AFTER Juicing Them

10/17/2016

0 Comments

 
How to Use Lemons
There are lots of household and personal care uses for lemons, including making your own cleaning products, concocting time-proven health remedies and mixing up do-it-yourself skin care products. Most of these uses require lemon juice, but what can you do with leftover lemons that you have already juiced?
 
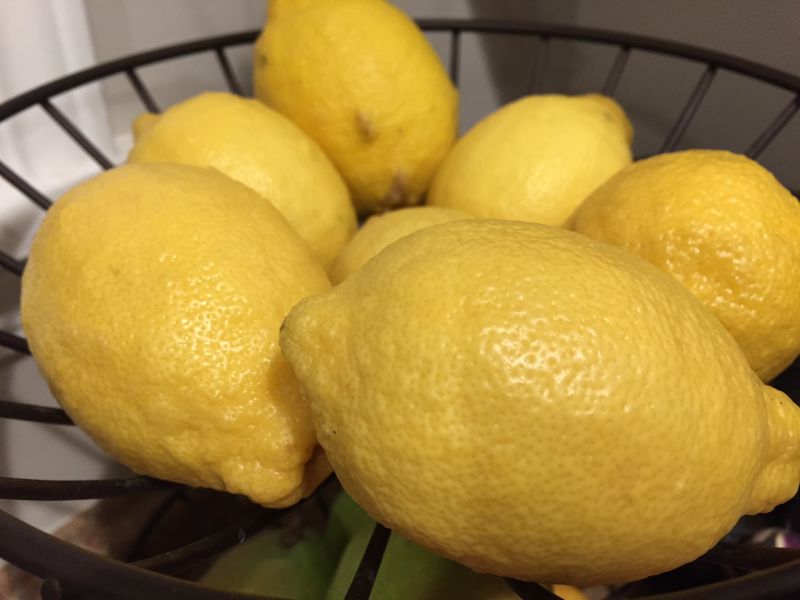
If you use lemons frequently for juicing, tea or making lemonade, you likely have lots of leftover lemon halves and might be wondering how to reuse lemons instead of sending them to the landfill.
 
In our house, we go through at least one lemon each day when I make my morning green smoothie – two if my wife also makes one. Right now, I’m only using the juice from the lemon, but I’m considering including more of the pulp – or even a little peel – to reduce waste and see how it affects the flavor.
 
In the meantime, I have at least one whole, leftover lemon to somehow reuse every day. While most of them are still going in my compost bin, I have been trying some new ways to reuse lemons after I have juiced them. So I thought I would share them with you...
Ways to Reuse Lemons

18 Uses for Lemons After Juicing Them


1. Add them to your compost bin.

Used lemons and lemon peels can be added to your compost bin to provide you with nutrient-rich compost for use in your vegetable garden. However, you do not want to add too much citrus to your compost pile, so this option is best for folks who occasionally have some leftover lemons.
 
2. Slice the halves and use them in tea.

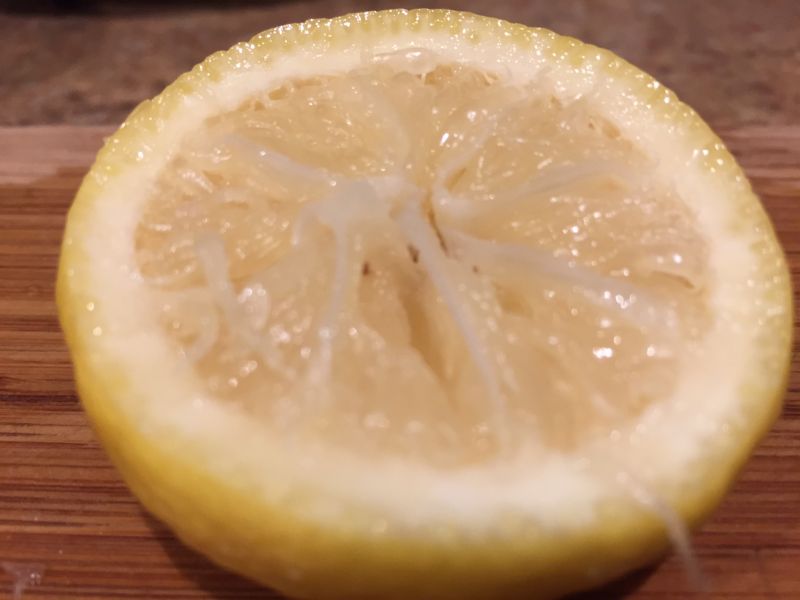
Although you may have already juiced your lemon halves, they likely still have a bit of juice left in them. If so, you can slice the halves and keep them in a mason jar or other glass container in your refrigerator to use in your tea throughout the day.
 
3. Deodorize your refrigerator with used lemons.

If there is still some pulp left in your lemons, you can simply set the used lemon halves in the refrigerator to remove odors.
 
4. Deodorize your litter box area.

I live with five cats, so we are always happy to find new ways to keep our cat room odor free. Aside from constantly cleaning multiple litter boxes, we also reuse lemons by placing the leftover lemon halves in a bowl near the cat boxes.
 
5. Deodorize your recycling bin or trash can.

You can also reuse leftover lemons by placing some slices in the bottom of your recycling bin or trash can to ward off odors. Just remember to change them out regularly, since they will decompose.
 
6. Deodorize and kill germs on your cutting boards.

This is one of my favorite uses for lemons – mostly because it is so easy and I always have a cutting board out right at the moment when I make my morning juice and end up with two lemon halves to somehow reuse. I don’t generally notice much of an odor coming from my cutting boards, but I do chop a lot of garlic and onions, so I’m sure the lemons are helping.

All you do is take one of your lemon halves and rub it (cut side down) all over the cutting board. Wait for a few minutes before rinsing and drying your cutting board to let the lemon’s antibacterial qualities work their magic.

How to Reuse Juiced Lemons

7. Clean your microwave.

I usually clean my microwave by microwaving a bowl of vinegar, and then wiping it down with a rag. However, one day I had a couple of lemon halves sitting on the counter and wondered if it might work just as well. After all, lemons are used for all kinds of cleaning purposes, so it made sense that they might also work for this.
 
To clean your microwave with leftover lemons, simply place them in a microwave-safe bowl about half filled with water and microwave it for about thirty seconds. Carefully remove the bowl and use a rag to wipe down your microwave.
 
This also works to deodorize your microwave.
 
8. Remove hard water stains and soap scum with lemons.

We have hard water and we have decided not to install a water softener. So, while that means that we, our furry friends and our plants can all enjoy using water right from the tap, it also means that our fixtures get some serious hard water stains. I have not found a perfect solution for this, but my leftover lemons do help. They are also particularly good at just general cleaning of my stainless steel kitchen sink.
 
9. Clean and shine chrome fixtures.

Another of the many uses of lemons is to clean and shine chrome fixtures around the house. To do this, you just need to rub the lemon all over the kitchen or bathroom fixture – which may include a bit of scrubbing if you have hard water – then rinse and dry with a soft cloth or rag.  
 
10. Shine your stainless steel silverware.

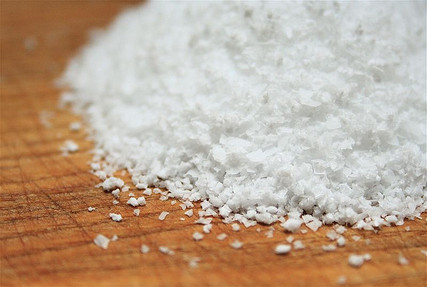
For some reason, my stainless steel silverware gets spots on it, which I’m pretty sure are rust spots. I have used aluminum foil to scrub these spots off before, but lately I have been trying a little salt and lemon, which seems to do the trick. I just sprinkle some salt on the spot, and then scrub it with one of my juiced lemons.
 
11. Clean your coffee pot.

Long, long ago when I worked in a restaurant, we used to put salt, ice and lemon wedges in glass coffee pots, swish it around for a couple of minutes, and then rinse them out and let them air dry. This helped to sanitize them and was great for getting that pesky brown ring that always seems to form about halfway up the side of the pot.

Uses for Lemons
12. Eliminate kitchen odors.

Toss your used lemons in a pot of water, bring it to a boil, and then set it to simmer for a few hours on the stove. This natural deodorizer will freshen the air while allowing you to get a second use out of your lemons. You can also do this on a stove used to heat your home by placing the lemon pieces in water in a cast iron kettle or pot.
 
13. Deodorize your garbage disposal.

This is an oldie but goodie and is worth mentioning – just in case you have not yet heard of this household use for lemons. All you need to do here is drop your leftover lemon pieces in your garbage disposal to be ground up next time you turn it on. Keep in mind that your garbage disposal may not be able to handle lemon halves, so you may need to chop them up smaller before dropping them into the disposal.
 
14. Ward off ants.

I have only seen this used for ants, but I have heard that it also works for fleas. All you need to do is slice up your used lemons and scatter them around anywhere ants might be coming inside your house, such as doorways and windowsills. You can also scatter them outside around food prep areas or entertaining areas to keep ants away.
 
15. Make lemon twists for water or cocktails.

Slice off the peel, toss the pulp in your compost bin, and slice the peel into thin strips. You can then save these strips to use as lemon twists to garnish cocktails later that night or to make your water bottle look extra fancy throughout the day.
 
Bartending helped pay for my undergrad degree, so you can trust me when I tell you that twisting the rind to release the citrus oil -- and then rubbing it around the rim of a cocktail glass before placing it inside or on the edge as a garnish – can do amazing things for a drink.
 
16. Make infused water.

While we are on the topic of enhancing drinks with lemons, it is a good time to mention that you can also make lemon-infused water with your leftover juicing lemons. Simply slice your used lemon halves thinly, place them in a mason jar or glass pitcher, fill the jar or pitcher with water and put it in the fridge for a few hours.
 
You can also make lemon-infused water in a drink dispenser by adding water, sliced lemons and ice, which you can then use as your drinking water throughout the day or for serving guests. If you are not a huge fan of water, you might want to try adding lemons to water and leaving it to infuse overnight in the fridge for a refreshing, flavored drink to enjoy the next day.
 
17. Heal rough or cracked heels.

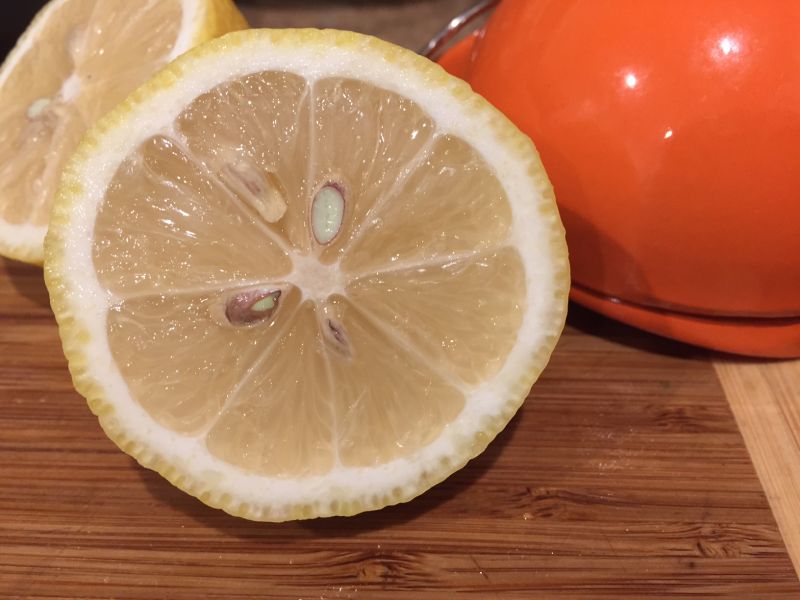
If cracked heels are an issue for you, try reusing lemons to soften them. To use lemons to soften heels, you cut them in half, squeeze out most of the juice, and then keep the lemon half intact to cup your heel and let it work its all-natural, heel-softening magic. Since we are talking about how to reuse lemons you have already juiced, this is perfect (since you would have to juice them anyways).
 
The trick is keeping the lemon halves on your heels for an extended period of time, because you will need to have them on for at least an hour each time you do it. Of course, if it better if you can leave them on for a few hours – or even overnight.
 
The only way I have found to effectively do this is to put heel socks over them to hold them in place. The problem is, it is very difficult to find this type of sock without that annoying gel in them. I occasionally find them on Amazon, so you may want to try there.
 
18.  Make natural potpourri and sachets.

To make all-natural potpourri or sachets, you first need to remove all of the pulp from the lemons. Then cut the peel into strips and dry them. You can dry lemon peels by laying them out for several days or by using your dehydrator. Take your dried lemon peels and mix them with cloves, dried flowers, cinnamon sticks and other aromatic herbs or spices. If you want to enhance the fragrance further, you can also add a few drops of your favorite essential oils – such as orange, lemon, clove or cinnamon. Put your potpourri mixture in a mason jar or another sealed container and leave it sealed for at least a few days (but preferably longer for a stronger scent) before placing it in baskets, bowls or sachets to use around the house.

Your Turn...

Okay, what did I miss?

What are your favorite ways to reuse lemons after juicing them?
0 Comments

Get Your Glow On with This DIY, Super Easy, Vegan Salt Scrub

7/14/2012

0 Comments

 
Picture
Spa treatments are awesome, but if you actually go to a spa for them, they are also way too expensive. I mean -- really -- do we need to pay a stranger $75 to exfoliate our skin with a vegan salt scrub when we can whip one up at home for just a couple of dollars?

I like my beauty treatments just as much as the next person, but I prefer them in the comfort of my own home using products that I make. That way, I know exactly what is in them, that they do not contain animal ingredients and that they were not tested on animals. I occasionally go to a salon or spa for a little pampering, but I'm way too cheap to make it a habit. Besides, $75 goes a hell of a long way at the grocery store with the way I shop, so dropping that on a single spa treatment would probably give me the vapors.

Of course, there is no way I would pay full price anyways, since I would only do this kind of indulgence if I had some kick-ass voucher from a daily deal site or something.

Anyways, enough about me clutching my faux pearls over spa prices  -- shall we get to the vegan salt glow scrub recipe?


What you need:

1/2 cup sea salt
1/4 cup almond oil or olive oil
1/4 cup vegetable glycerin*
5 drops essential oil (optional)
1 canning jar or other container

What you do:

1. Mix the oil and vegetable glycerin in a glass mixing bowl.
2. Add the essential oil, if using.
3. Stir in the sea salt.
4. Store in a canning jar or similar wide-mouth container (so that it is easy to scoop out).

Exfoliating your skin sloughs off dead skin cells, unclogs pores, makes dull skin more lustrous, improves circulation and can increase your body's natural detoxification process. It also allows your skin to better absorb whatever type of lotion, oil or other moisturizer you use, leaving your skin smoother and more hydrated.

I also like to use this as an exfoliating scrub just for my hands and feet when I do at-home manicures or pedicures.

The vegetable glycerin is the most expensive part of this recipe (followed by the almond oil), so for an even cheaper vegan salt scrub, you can also just do one part sea salt to one part olive oil.

Keep in mind that this is an exfoliating product and that sea salt is abrasive, so go easy on your skin until you are used to the texture and have determined how much pressure is comfortable when you are scrubbing yourself down.

Now go get your glow on!

*Vegetable glycerin can be made using palm oil or vegetable oil, so vegans who avoid palm oil will want to make sure to check the label before making a purchase.
Print Friendly and PDF
0 Comments

How to Make Vegan Bath Salts: 5 Vegan Bath Salts Recipes

6/8/2012

0 Comments

 
Picture
It is so easy and affordable to make DIY vegan bath salts that you will be wondering why you ever shelled out your hard-earned cash to buy them at the store. Seriously.

There’s little that can relieve stress like pampering yourself with a luxurious soak with scented bath salts, followed by homemade bath oils, bath powder or body cream, but buying vegan and eco-friendly options can lead to one expensive home spa experience. Bath salts, in particular, are one of the most overpriced items, but you will never have to buy them again now that you have these vegan bath salt recipes that allow you to whip up a batch in minutes.

Of course, homemade bath products also make great gifts, so you might want to bookmark these bath salts recipes for the next time you have a need for DIY eco-friendly gift ideas.

Here are five cheap, easy bath salts recipes made from stuff you will already have or easy-to-find vegan ingredients.
Picture
DIY Bath Salts Recipe #1: Basic Vegan Bath Salts

2 cups Epsom salt

1 cup sea salt

15-20 drops of your favorite essential oil(s) (optional)

Mix the ingredients together in a glass bowl, and then transfer them to a mason jar or similar container for storage. Use between about ½ cup per bath.


DIY Bath Salts Recipe #2: Baking Soda Bath Salts

2 cups Epsom salt

1 cup baking soda

1/2 cup sea salt

20-25 drops of essential oil (optional)

Mix the ingredients in a glass bowl, and store them in a canning jar. Use ½ to one cup per bath.


DIY Bath Salts Recipe #3: Soothing Oatmeal & Baking Soda Soak

1 cup ground oatmeal

1 cup baking soda

1 cup Epsom salt

½ to 1 cup sea salt (optional)

20-25 drops of essential oil (optional)

You can grind the oatmeal into a powder using a coffee or spice grinder. Mix all ingredients in a glass bowl, and store in a mason jar (or similar container). Use about one cup per bath.


DIY Bath Salts Recipe #4: Skin-Softening Soak with Baking Soda & Vegetable Glycerin

1 cup baking soda

1 cup Epsom salt

1 cup sea salt

2 teaspoons vegetable glycerin

15-20 drops of essential oil (optional)

Mix dry ingredients in a glass bowl. Add vegetable glycerin and essential oils, and mix well to avoid clumping. Store in a glass jar for home use or to give as a gift. Use about one cup per bath.


DIY Bath Salts Recipe #5: Baking Soda & Herbs Bath Salts Blend

1 cup Epsom salt

1 cup baking soda

1 cup sea salt

1 teaspoon vegetable glycerin

2 tablespoons dried herbs

10-15 drops of essential oil (optional)

Mix dry ingredients in a glass bowl. Add essential oil and vegetable glycerin. Mix well, avoiding clumps. Store in a glass jar. Use about one cup per bath.

Here’s a little more information about the ingredients you see listed above and why you might want to include them in your vegan bath salts recipes:

Epsom salt (magnesium sulfate) has a variety of health benefits when used externally or taken internally. When used in bath salts, Epsom salt promotes relaxation, relieves muscle aches and softens skin. It is also commonly believed that Epsom salt assists in detoxification.

Baking soda (sodium bicarbonate) is a traditional remedy used to ease itching, rashes and redness caused by insect bites, sunburn and other skin irritants. It is also believed to have detoxifying properties and softens skin. You should be able to find cheap baking soda in the bulk foods section of your favorite store.

Oatmeal softens and soothes skin, and is particularly beneficial in reducing itchiness and redness from poison oak, poison ivy, sunburn, eczema and rashes. It is usually cheapest to purchase oatmeal in the bulk foods section of your local grocer.

Vegetable glycerin softens the skin and can make for a more luxurious bath experience.

Coarse-ground, unbleached sea salt is the best option when gathering ingredients to make vegan bath salts, but fine-grain salt will also work. Sea salt is not excessively processed (like table salt) and is a mineral-rich salt that offers an array of health benefits when used externally or as a replacement for table salt in food preparation. When used in bath salts, the healing properties include soothing muscle pain and aches, reducing skin irritation and possibly accelerating the healing of skin disorders. It also leaves your skin softer and can be used as an exfoliating agent, which will be addressed further in future blog posts with recipes for DIY body scrubs.

Two of the most popular choices for making bath salts and other personal care products include Dead Sea salt and Celtic Sea salt.

For an even more luxurious treat, you can splurge on Himalayan salt to use in place of the sea salt, which will give your bath salts a pretty pink hue, while also imparting the skin-smoothing and healing properties of Himalayan crystal salt.

Essential oils are not necessary when making bath salts, but they do offer additional healing and mood influence through aromatherapy. Please note that only pure essential oils should be used in these bath salt recipes. Fragrance oils might be cheaper, but they are also synthetic, filled with chemicals and don’t offer the same healing properties.

If you are new to essential oils, you might want to try lavender for relaxation, peppermint for an energizing bath or tea tree oil for a skin-soothing soak. You can even pick up an essential oils sample kit that will allow you to inexpensively try out a variety of oils.

Please be aware that some essential oils can cause adverse reactions in some users. For example, rosemary essential oil should not be used by those with high blood pressure or during pregnancy, so make sure you are familiar with the essential oils you use in your vegan bath salt recipes.


What is your favorite bath product to use when creating an at-home spa experience?

Print Friendly and PDF
0 Comments

Vegan, Cheap, DIY Apple Cider Vinegar Rinse for Soft, Shiny Hair

5/22/2012

0 Comments

 
Picture
If you already make your own beauty products, personal care products and household cleaners, then you are well aware of the awesomeness of apple cider vinegar (ACV). If you are not yet in love with this simple, cheap solution for practically everything in your home, this apple cider vinegar hair rinse is a great introduction into how easy and beneficial it is to use ACV for multiple purposes, including your vegan, eco-friendly, DIY hair care needs.

In case you are a bit reluctant to listen to some stranger telling you to put an ingredient normally used in coleslaw on your hair, let me start by saying that I use this vinegar rinse all the time, and I have a lot of hair. And by a lot, I mean the kind of long, curly hair that gets caught in car doors and sat on by other people if I'm not paying attention. So I would never intentionally steer someone wrong when it comes to hair care.

I noticed a difference the first time I used an ACV hair rinse years ago, including softer, shinier hair that was easier to comb out and had less frizz. It accomplishes this by helping to restore the balance of your hair's pH, remove build up from shampoos and styling products, and smooth your hair's cuticles. I now use this apple cider vinegar hair treatment once every week or two, and I continue to absolutely love it.

Oh - also - if you have issues with dandruff, apple cider vinegar is a natural remedy that seems to work well for lots of folks, so this rinse might also help take care of that problem!

I should point out that I use way more vinegar in my mix than most folks recommend, so I will give you my recipe along with a more common recipe to allow you to choose which is right for you. I don't normally use shampoo these days, but when I used to use it, I did the vinegar rinse before shampooing my hair. Most folks who tout the benefits of an ACV rinse for hair recommend shampooing your hair, doing the rinse, and then using your conditioner.

You can use conventional ACV (the cheap stuff) for your household cleaning needs, but you should use organic apple cider vinegar for health, personal care and beauty purposes. I prefer Bragg's Organic Apple Cider Vinegar, which has the mother (the brownish stuff you see at the bottom of the bottle or floating around).

Here is how I roll with my DIY apple cider vinegar hair rinse:

I have a clear version of an old-school mustard or ketchup squeeze bottle that you would find at a diner or BBQ. I fill a little less than half of the bottle with apple cider vinegar, and then fill the bottle the rest of the way with water. I then place my finger over the hole in the top and shake it up. I keep this in the shower for multiple uses, since I use this mixture on both my hair and my face.

Since some people like actual measurements and whatnot, here is the basic recipe that I use:

1/2 cup apple cider vinegar
1/2 cup water

When I'm in the shower, I wet my hair, and then apply the apple cider vinegar mixture -- focusing primarily on my scalp and the hair on the top of my head. Since I have longer than average hair, I then hold my hair out at arm's length and squeeze the ACV rinse over the length of my hair. I then work the mixture through my hair (like you would work conditioner through your hair) and let it sit for about two minutes while I go about my normal showery business. I then rinse my hair and apply my conditioner, which stays on through the rest of my shower.

You will definitely smell the vinegar while you are going through this process and while your hair is still wet after you get out of the shower. If you use as much vinegar in your mix as I do, this smell will mostly dissipate as your hair dries, but you might still get a whiff of it every now and then until you wash your hair again.


Here is how other people roll with their apple cider vinegar hair rinse:

If you are concerned about the smell, you can simply use less vinegar in your rinse, which will result in the vinegar smell completely dissipating by the time your hair is dry. This is probably one of the reasons why some people like to use this watered-down version for their hair care needs.

Here is a more common recipe that uses much less ACV than I do:

2 tablespoons apple cider vinegar
2 cups water

Also, remember that many folks recommend shampooing your hair before using this hair treatment, and then following the rinse with your regular conditioner.

Print Friendly and PDF
0 Comments

Four All-Natural, Easy, Cheap DIY Bath & Baby Powder Recipes

5/22/2012

0 Comments

 
Commercial bath powders (aka body powder, dusting powder, baby powder) can be expensive and generally have a long ingredient list that includes unnecessary chemicals and talc, which has been linked to a variety of health concerns. These conventional bath powder options usually come in single-use containers that may not be recyclable, are often made from ingredients that are sourced from around the world, and require all sorts of energy, water and transportation to gather the ingredients, produce the product and deliver it to your local store.

While they might provide a luxuriously smooth, silky feel to your skin or help prevent diaper rash, these chemical and talc-laden baby powders are bad for you, your baby and the environment. Besides, once you see how easy and cheap it is to make your own bath powder, you will be wondering why you ever bothered buying baby powder at the store.

Here are four all-natural bath powder recipes that are simple, cheap and made from ingredients that you probably already have on hand:

DIY Bath Powder Recipe #1: Simple, Unscented Baby Powder

1/2 cup cornstarch
1/2 cup baking soda

Mix them together, and you're finished. It really is that simple to make your own baby powder that is eco-friendly and safer for your family to use. You can purchase both cornstarch and baking soda in the bulk section of your local natural foods store. You can scent this simple bath powder with 10-25 drops of essential oil*, if you choose.


DIY Bath Powder Recipe #2: Simple, Scented Baby Powder

1 cup cornstarch
10-25 drops of an essential oil* of your choice


DIY Bath Powder Recipe #3: Arrowroot Baby or Body Powder

1/2 cup arrowroot powder
1/2 cup cornstarch
Optional: 10-25 drops of essential oil* for scent


DIY Bath Powder Recipe #4: Even Easier Arrowroot Body or Baby Powder

1 cup arrowroot powder
Optional: 10-25 drops of essential oil* for scent


Tips for Making Your Own All-Natural Body Powder

You can store your bath powders in an old-fashioned sugar shaker (with holes in the lid) or repurpose an old powder container with a puff. If you use the sugar shaker option and don't plan to use the powder right away -- or would like to give it as a gift -- a simple square of cloth (organic cotton would be best) can be placed under the lid to block the holes.

If you prefer scented products, make sure you use essential oils -- not fragrance oils.

*If you are not familiar with working with essential oils, please take some time to educate yourself before using them in DIY personal care products. I would recommend using unscented baby powder for babies and toddlers. Also keep in mind that some people can experience adverse effects from essential oils. For example, rosemary should not be used by pregnant women or people with high blood pressure, and lavender can seriously dry out some people's skin - and even cause peeling in some cases. Essential oils have wonderful healing qualities and are perfect for use in home remedies, homemade personal care products and homemade cleaning products; we just need to make sure we know the possible side effects or contraindications for each oil we use.

Print Friendly and PDF
0 Comments
    Follow @CheapVeganChick
    Follow on Instagram

    Subscribe by email...

    Enter your email address:

    Delivered by FeedBurner

    Picture
    top vegan blogs
    @cheapveganchick - influencer profile on Dealspotr
    dealspotr.com
    Vitacost.com

    Categories

    All
    Adoptable Animals
    Coupons & Deals
    Diy Crafts
    Diy Household
    Diy Personal Care
    Dollar Store Deals
    Eco Vegan Household
    Giveaways Freebies
    Go Green
    Go Vegan
    Growing Food
    Health Nutrition
    Make Extra Money
    Money Saving Tips
    Random Stuff
    SoCal Vegan & Green
    Store Sales & Matchups
    Vegan Juicing
    Vegan On The Go
    Vegan Product Reviews
    Vegan Recipes & Tips
    Vegan Shopping & Gifts
    Vegan Travel

    RSS Feed


    Vegan Bloggers Unite!

    Reader Faves:

    18 Ways to Use Lemons

    57 Uses for Canning Jars

    Juicing Leafy Greens

    Where to Find Vegan Coupons

    DIY Apple Cider Vinegar Hair Rinse

    Juicing: Potassium Power Smoothie

    11 Vegan Egg Replacers

    Earn with SwagBucks

    Dr. Fuhrman
    Brighter Planet's 350 Challenge
    Picture
    Featured Author
    Featured Author
    view my recipes
    Featured Author
    All recipes are on Petitchef

    Disclosure: Some posts may contain affiliate links, which help support this site.

    Read Site Disclaimer

    Archives

    March 2021
    June 2019
    May 2019
    April 2019
    December 2018
    November 2018
    September 2018
    July 2018
    May 2018
    March 2018
    February 2018
    January 2018
    October 2017
    September 2017
    August 2017
    May 2017
    April 2017
    March 2017
    February 2017
    January 2017
    December 2016
    November 2016
    October 2016
    September 2016
    August 2016
    July 2016
    June 2016
    May 2016
    April 2016
    March 2016
    February 2016
    November 2015
    September 2015
    August 2015
    July 2015
    June 2015
    May 2015
    March 2015
    February 2015
    January 2015
    December 2014
    November 2014
    October 2014
    August 2014
    July 2014
    June 2014
    May 2014
    April 2014
    March 2014
    February 2014
    January 2014
    December 2013
    October 2013
    September 2013
    August 2013
    July 2013
    June 2013
    May 2013
    April 2013
    February 2013
    January 2013
    December 2012
    November 2012
    October 2012
    September 2012
    August 2012
    July 2012
    June 2012
    May 2012
    April 2012
    March 2012
    February 2012

As seen on...
Picture
Picture
Care2
Picture
Picture
Picture
top vegan blogs
Dealspotr
dealspotr.com
Copyright 2011-2021|Cheap Vegan Chick
Photos used under Creative Commons from Robert S. Donovan, RenaudPhoto, Fifth World Art, StarsApart, USDAgov, mattieb, geremology, mahatsorri, nate steiner, lissac1, mikecogh, Joe The Goat Farmer, trekkyandy, andreasivarsson, Z Carlos, nlian, hello-julie, Images_of_Money, ssedro, ReillyButler, eliduke, Gryphonwyck, davide.santoni, dysell, trekkyandy, michaelnpatterson, stlbites.com, Jorbasa, Ducklover Bonnie, TinyTall, barockschloss, Bellafaye Garden, seelensturm, jamesabbott1963, juliejordanscott, cyclonebill, bsperan, Nomadic Lass